280Z A/C
Just starting on this. It's not nearly as straight forward as I might have hoped. Lots of fabrication work. If you can find a good one, and have the money, I suggest getting the whole dash from the 280. The opening on the 240 is much smaller. And some of the supports conflict.
So far, it's a huge pain in the ass.
Accomplishments so far:
- Removed entire 280 system from pick and pull yard. About 3 hours in the mosquito infested heat. Paid $175 but got a plastic glovebox too. Should have gotten the dash too, but it was brown and in bad shape.
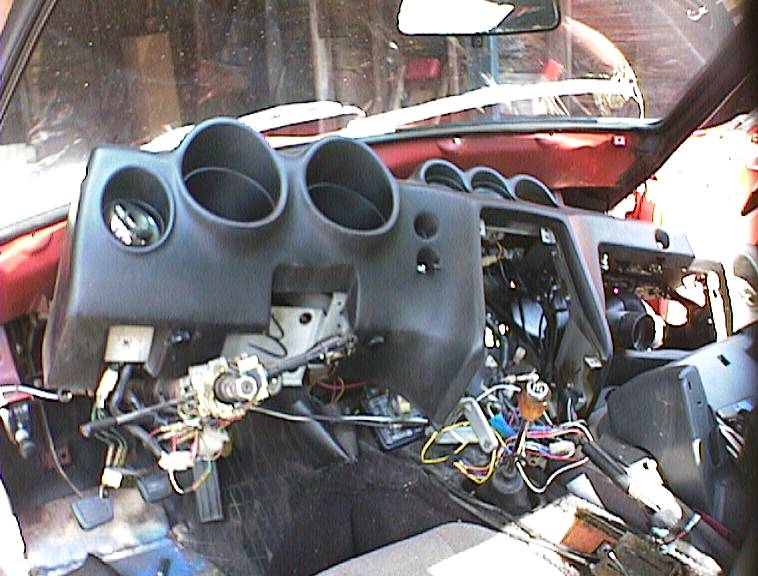
- Removed my center console and dashboard. This took about an hour. I had previously removed the heater and blower which took about 2 hours, but would have been much easier with the dash out (duh). You'll want to remove the steering wheel too. And there are screws down low near the a pillars that are hard to see, but they're there.
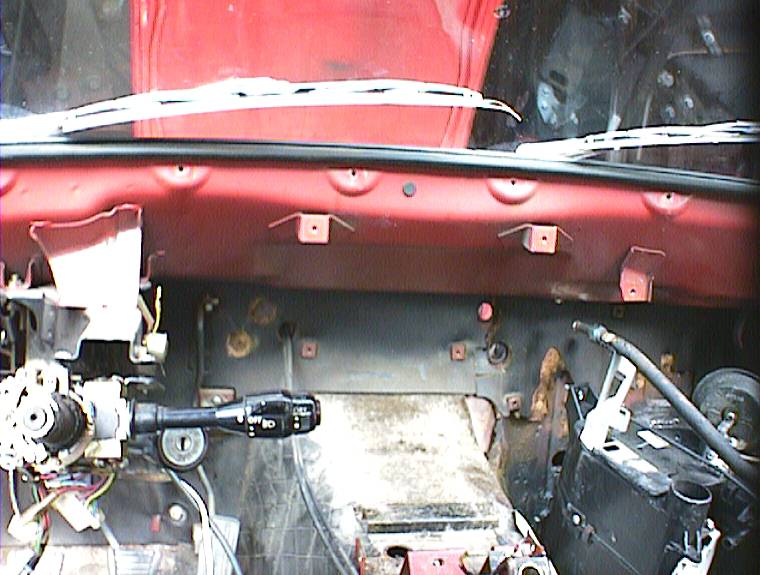
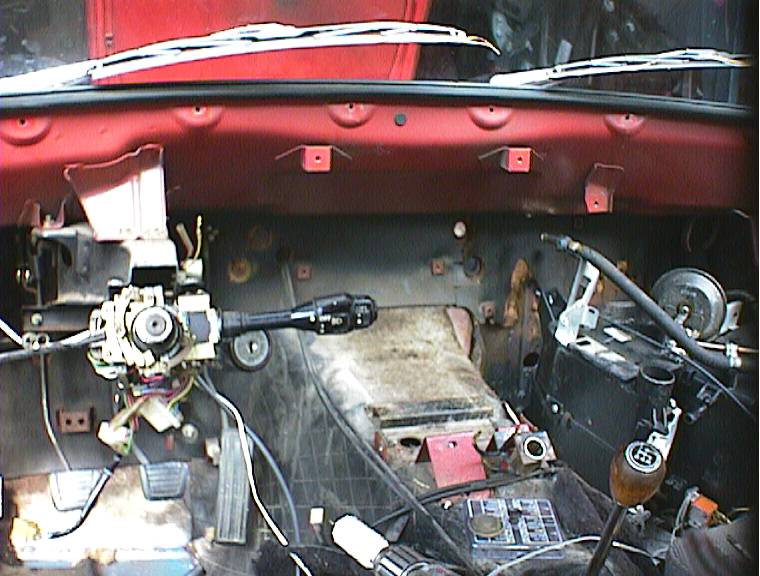
- I'm not going to discuss all the various trial and error stuff I did, suffice to say that the original heater box mounts on the 240 firewall must be removed. First mark the firewall using a scratch awl - stick it thru the threaded hole in the existing mounts and scratch the firewall. The spot welds can be drilled out - but be careful 'cause I accidentally drilled a hole in the firewall on one of them. This is tender metal. Now drill about a 3/8 inch hole where you marked. There are some outlines refrigerant line openings in the firewall on the driver's side. I drilled these out and they line up pretty well. I recommend welding some steel over the existing heater hose openings and drilling your own. The bottom most metal "tab" on the 280 heater box (has some nuts welded on to it) needs to be marked (and probably scored) at about 1 half inch (I did less than this - crap) and bent 90 degrees back.
- Stick it all in there. Assemble everything, including the faceplate for the controls and the air deflector before you insall the dash. The blower housing is tricky. There's only one 240 mount that matches up. I ended up fabricating a little part of the "missing" bracket (using the old assembly as a template) and welded it on to the housing.
<back